About Receiver Management
- Receiver Management displays information about a GNSS receiver and provides a user interface to perform specific tasks

-
Receiver Management is comprised of three modules
- Receiver Information
- Receiver OAF
- Receiver Update
Using Receiver Management
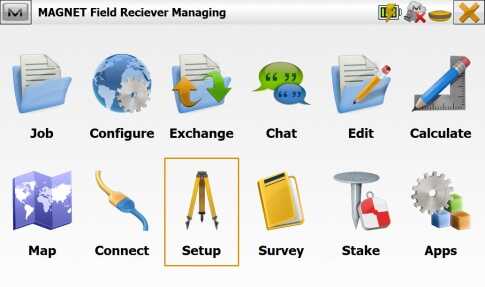
To access Receiver Management from the MAGNET Field Home screen:
-
Click the Setup icon
- The options available in this menu are dependent upon the Survey Job Configuration in the Configure Menu
- You will need to have a GNSS configuration selected and be connected to your GNSS Receiver to proceed
Using Receiver Info
-
The dialog shows the information about the connected receiver
- Options expired — the number of expired option(s) out of total number of uploaded options
- Receiver model — Topcon receiver model name
- Firmware version — the current receiver firmware version and release date
- ID — OEM board identification number
- Serial Number - GNSS receiver serial number

- Click Receiver Info
-
A window showing the Reciever information will open
- This example shows the details of a HiPer HR GNSS Receiver and includes additional Network information such as the SSID

Clear NVRAM
- Additionally, you can send the Clear NVRAM command to the connected GNSS receiver.
Note: Clear NVRAM - the command that resets the receiver parameters to factory default values (such as elevation mask and recording interval, and information about the receiver's internal file system). This command will not delete any static files from the receiver memory. After clearing the NVRAM, the receiver will require some time (around 15 minutes) to collect new ephemerides and almanacs
- Click the Options Button on the upper left side of the display

- Click Clear NVRAM
- Click Yes
- The Receiver Info screen will reopen showing the details of the receiver
- The Receiver will perform the operation
- Once the new ephemerides and almanacs are loaded the unit will be ready for use
- Once the new ephemerides and almanacs are loaded the unit will be ready and begin tracking satellites
- When viewed from the Home menu you will see the GPS receiver icon with green signal indicators showing corrections are being received
