Display Options
Display options allow the operator to select additional display settings. The operator can chose what information is displayed and how the information is displayed on the screen, depending on surface or application.

Working surface (TIN)
- When working with TIN surfaces, the Working surface option allows the operator to change how the TIN information is displayed on the screen. In this example, the operator has chosen to show the triangle mesh in blue and the boundaries or break lines in red. The colors can be changed by simply touching the Color button and selecting a color from the color palate.

- In this example the operator has chosen to show contours at .5’ intervals, rather than showing the TIN. The operator has also chosen to show the boundaries or break lines in Red.

Working Surface (Section)
- When viewing the TIN in a section view, the Section Tab allows the operator to view the Section/profile lines in different colors. The operator can also choose to show Grade transition locations.

Alignment
- When working with Alignments, the options are different than when working with TINs. The operator can select different colors for the Center line/Alignment features.
- The operator also has the ability to display Station Lines and Station labels at any given distance. In this example the operator has chosen to display the station lines in green and the station labels are being displayed every 50’.

Alignment (Section)
- When viewing the Alignment in a section view, the Section Tab allows the operator to view the Section/profile lines in different colors. The operator can also choose to show grade transition locations.

As-Built Surface
- As-Built Surfaces are used in conjunction with SiteLink and record specific information about the machine’s operation. The operator can chose how the information for the As-Built Surface will be displayed. Working with As-Built Surfaces will be detailed in future lessons.

Points
- If the operator choses to display point information on the screen, s/he should begin by turning on the Layer within which the points are stored, under the File tab. Once the points are turned on, the operator can chose what information they would like displayed for the points within the Display options.

Shortcuts
- Shortcuts allow the operator to place shortcut buttons on the main screen for features that are regularly accessed. In this example, a shortcut for changing views and taking topo shots have been turned on.

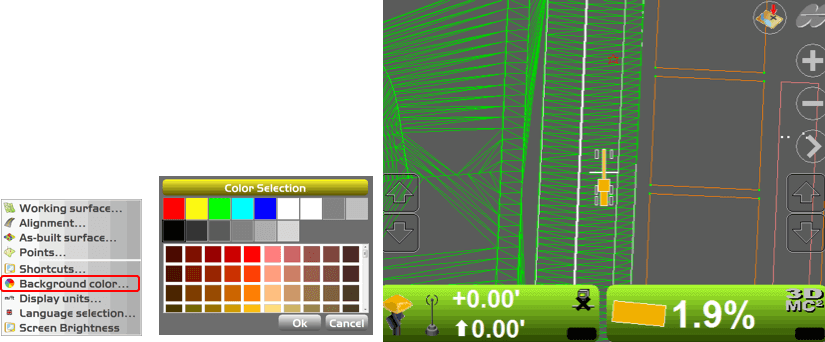
Background color
- The Background color can be changed to help improve the visibility under different lighting conditions.
Display Units
The Display Units set how the grade and site information is displayed.
- The Distance option determines how the grade information is displayed. The decimal points option sets the number of digits after the decimal point.
- The Angles option sets how the WGS84 Latitude/Longitude and Height information for the Control Points are displayed in the Control point file.
- The Grades option: Sets how Slopes are displayed on the main screen.
- The Stations option: Sets how Station information is displayed on the main screen.
- The Volumes option: Currently has no features associated with it.
- The Coordinates option: Sets how the Control Point Site Coordinates are displayed in the Control Point File.

Language Selection
The Language selection allows the operator to select what language will be displayed.
- When installing 3D-MC the options of available languages are shown.
- If multiple languages were installed, multiple selections are available to the operator.

Screen Brightness
- Screen Brightness provides three options to the operator.
- Auto automatically dims the screen as the ambient light in the cab dims.
- Dim sets the display to about 50% brightness.
- Bright maintains 100% brightness.
